Creating Hosted Payment Page and Buy Now Button
Step-by-step guide for creating "Hosted Payment Page" and "Buy Now" button.
Hosted Payment Page
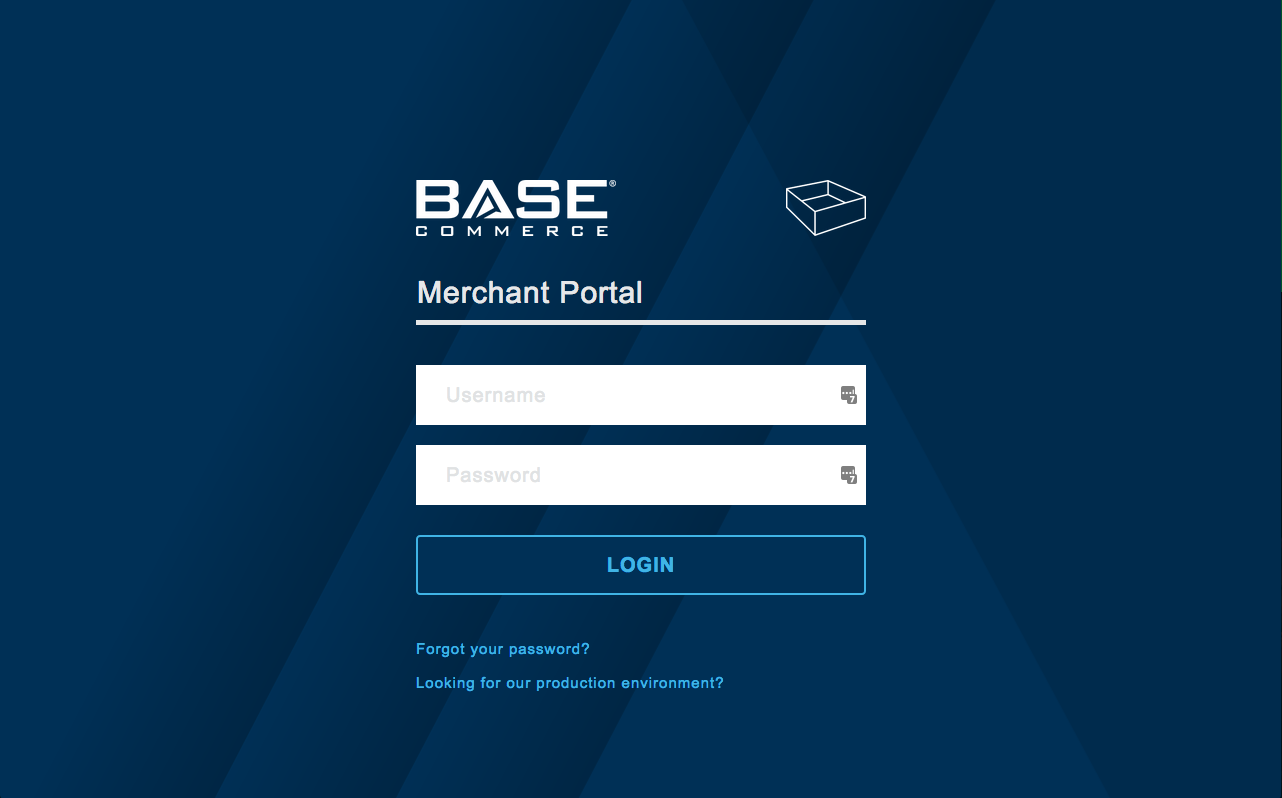
1. Log into your Base Commerce Merchant Account at https://my.basecommercesandbox.com for sandbox or https://my.basecommerce.com for production.
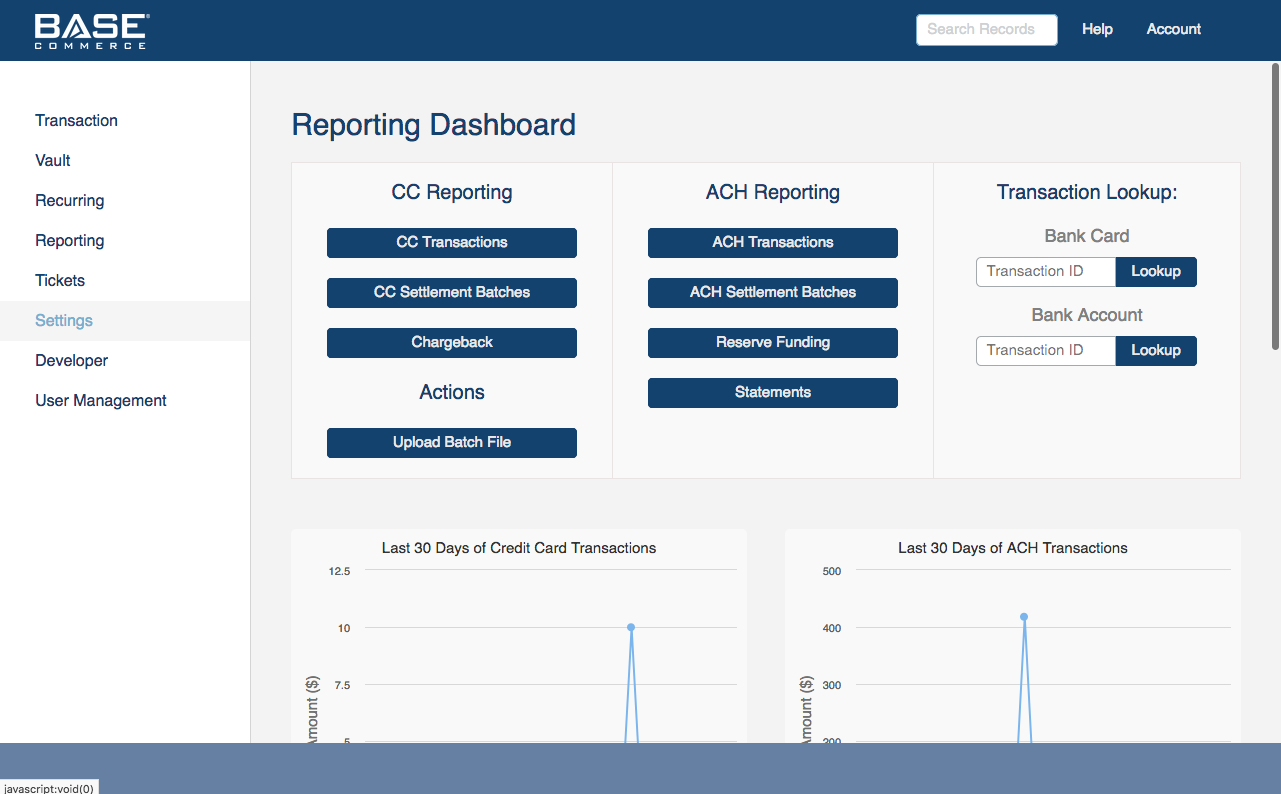
2. After successful login to the home page, click on "Settings" navigation button, highlighted in the image below.
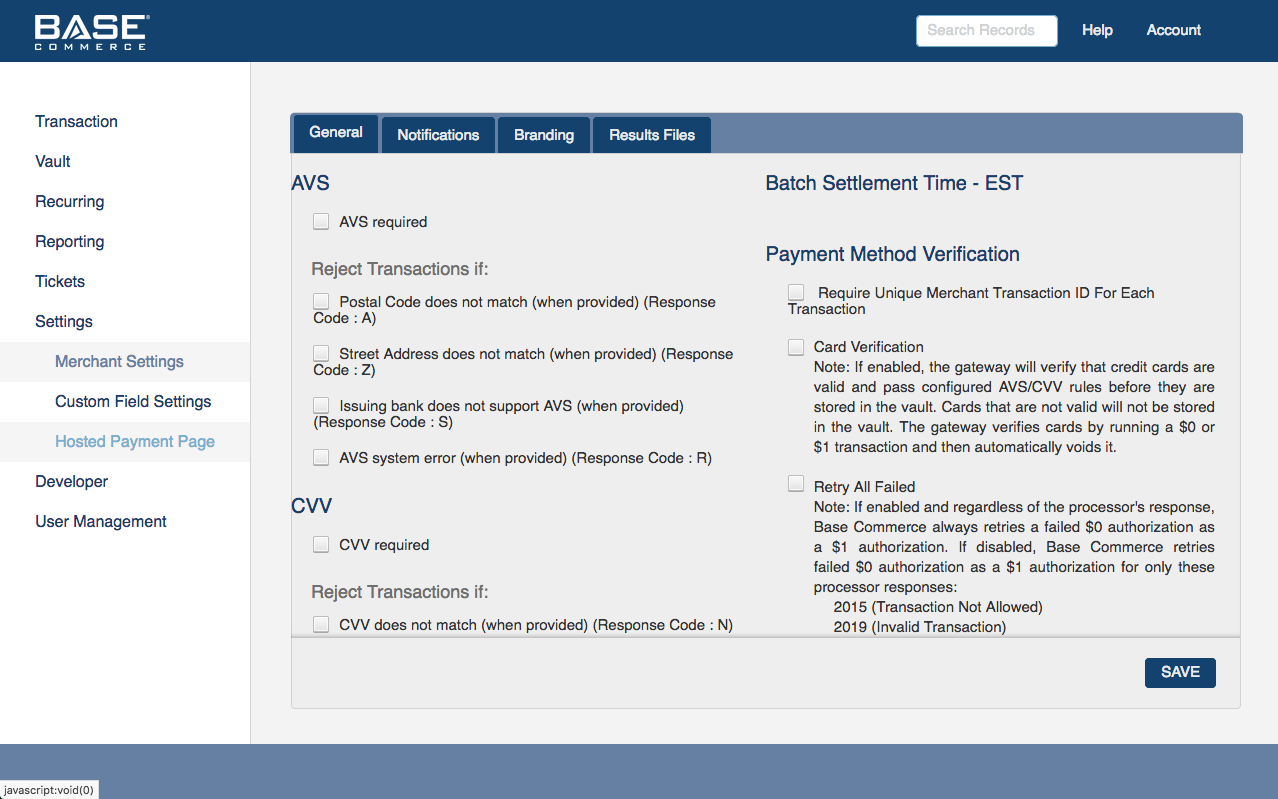
3. On Settings page, click on sub navigation button "Hosted Payment Page."
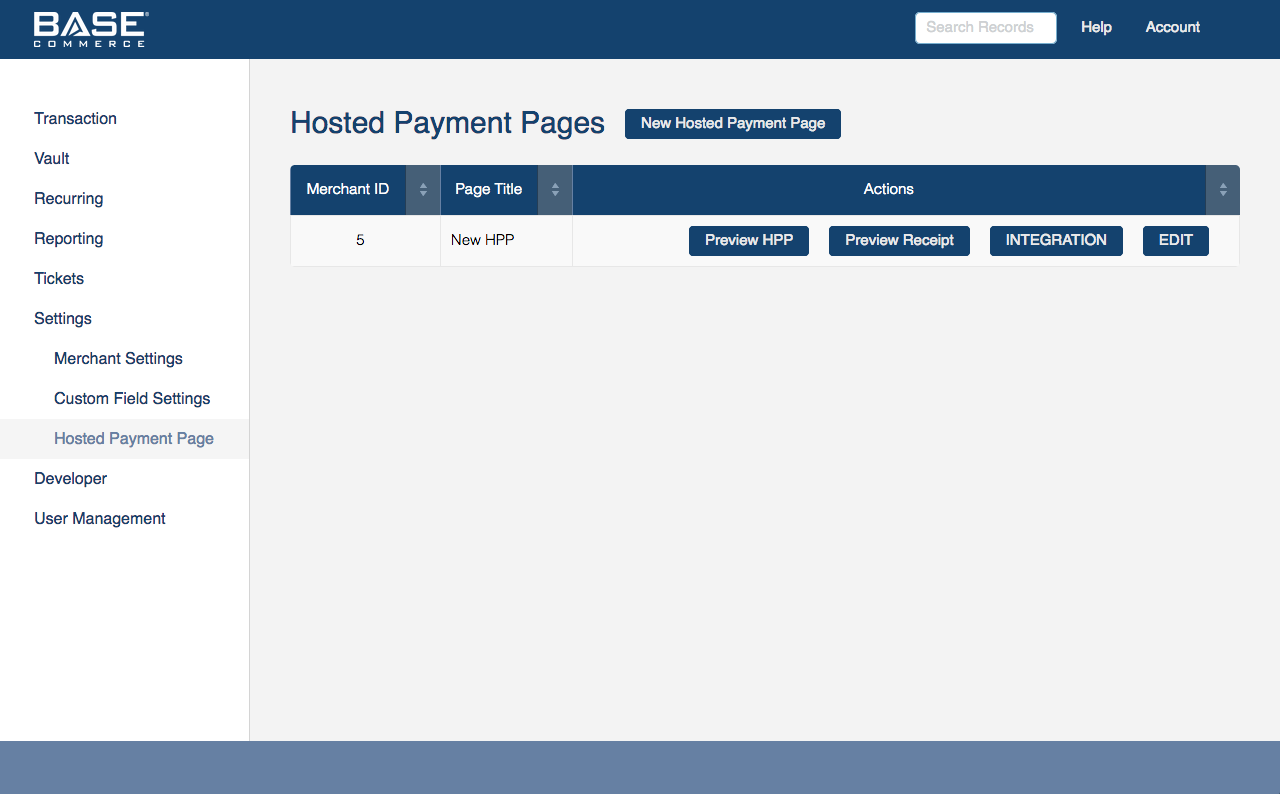
4. The previous step will bring you the Hosted Payment Page dashboard which will allow you to build a custom Hosted Payment Page.
On the dashboard click on the "New Hosted Payment Page" button to start building a custom page for your payments.
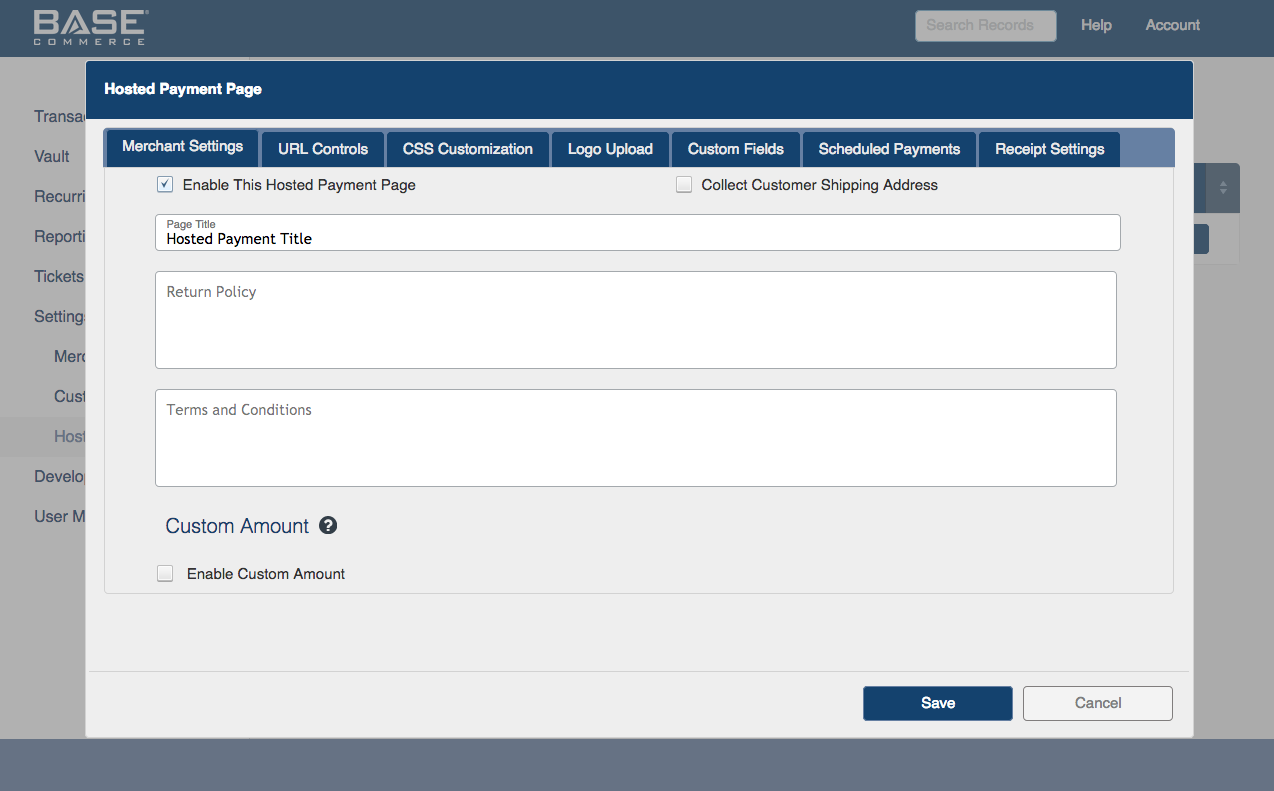
5. A new window with five tabs will pop up requiring you to customize the Hosted Payment Page.
To get started, select "Enable This Hosted Payment Page" option and complete the remainder of the form.
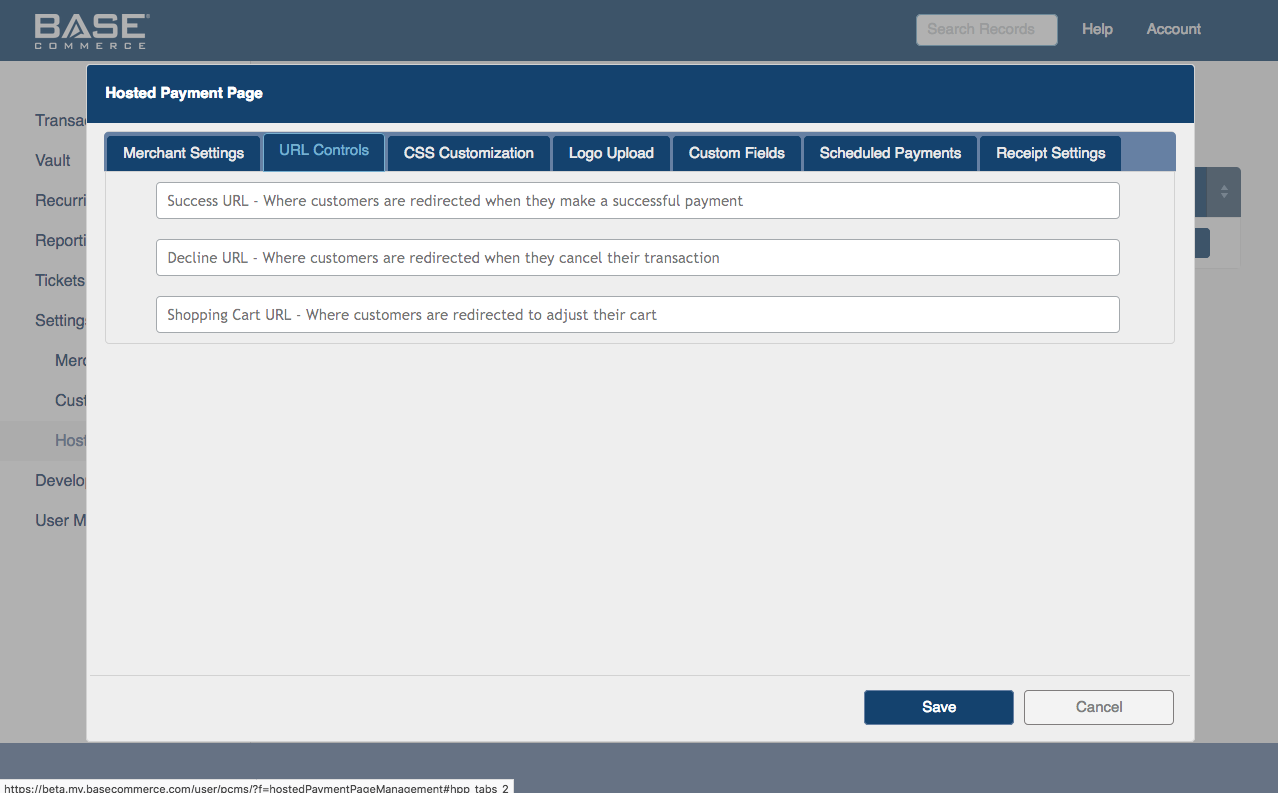
6. The second tab requires the URL for cardholders to be returned to after a successful payment authorization.
This also includes a URL where cardholders will be returned in case of authorization failure or cancelling their transaction.
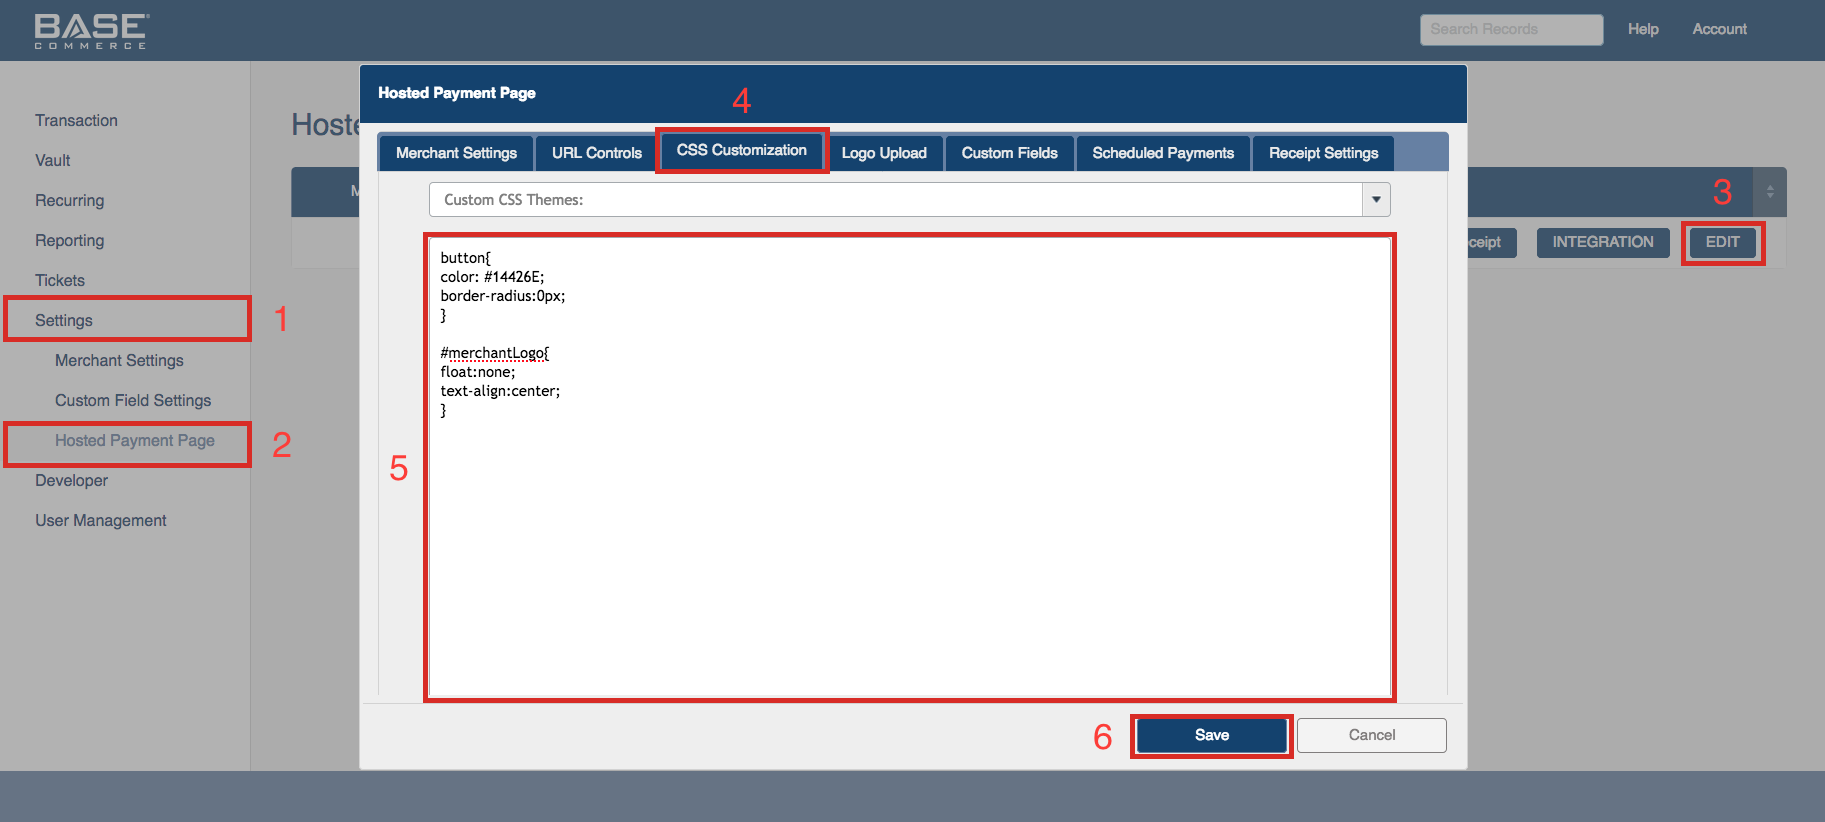
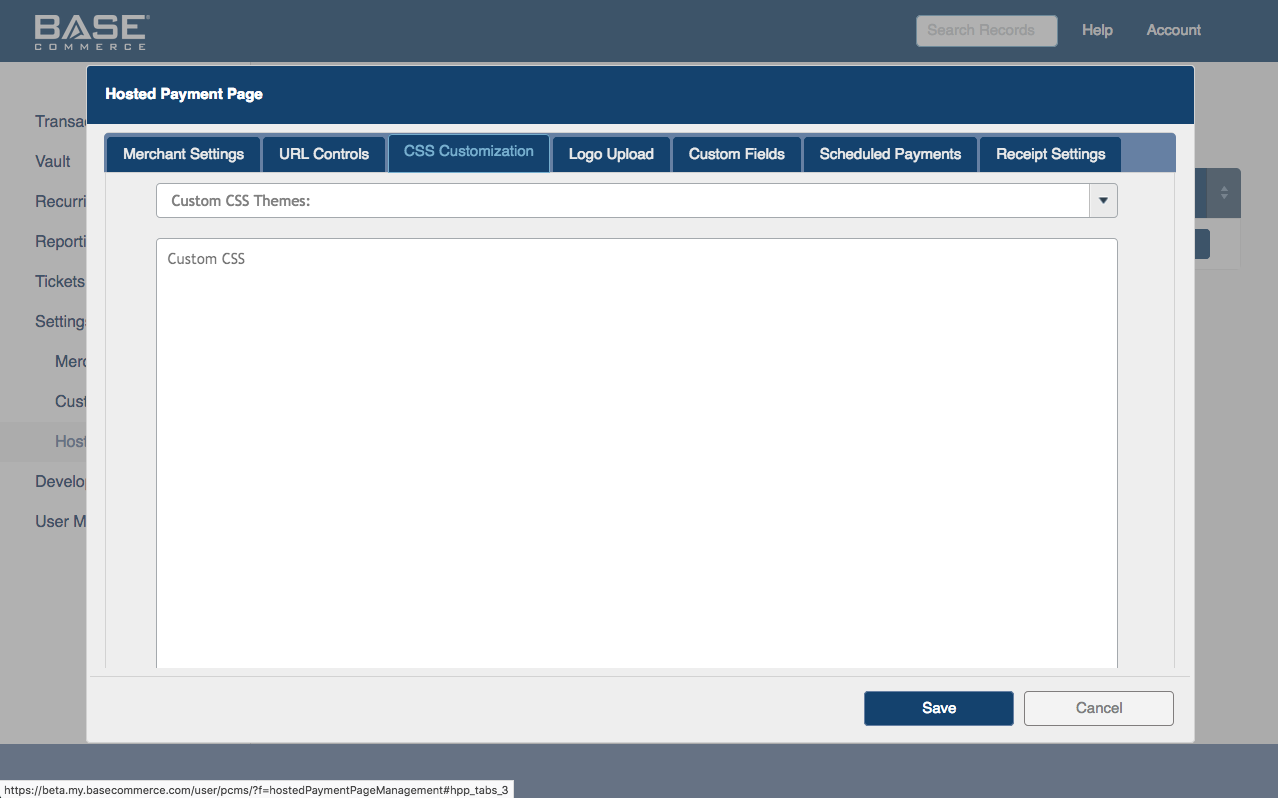
7. The third tab allows uploading of Cascading Style Sheets(CSS) to match the Merchant's website branding color schemes.
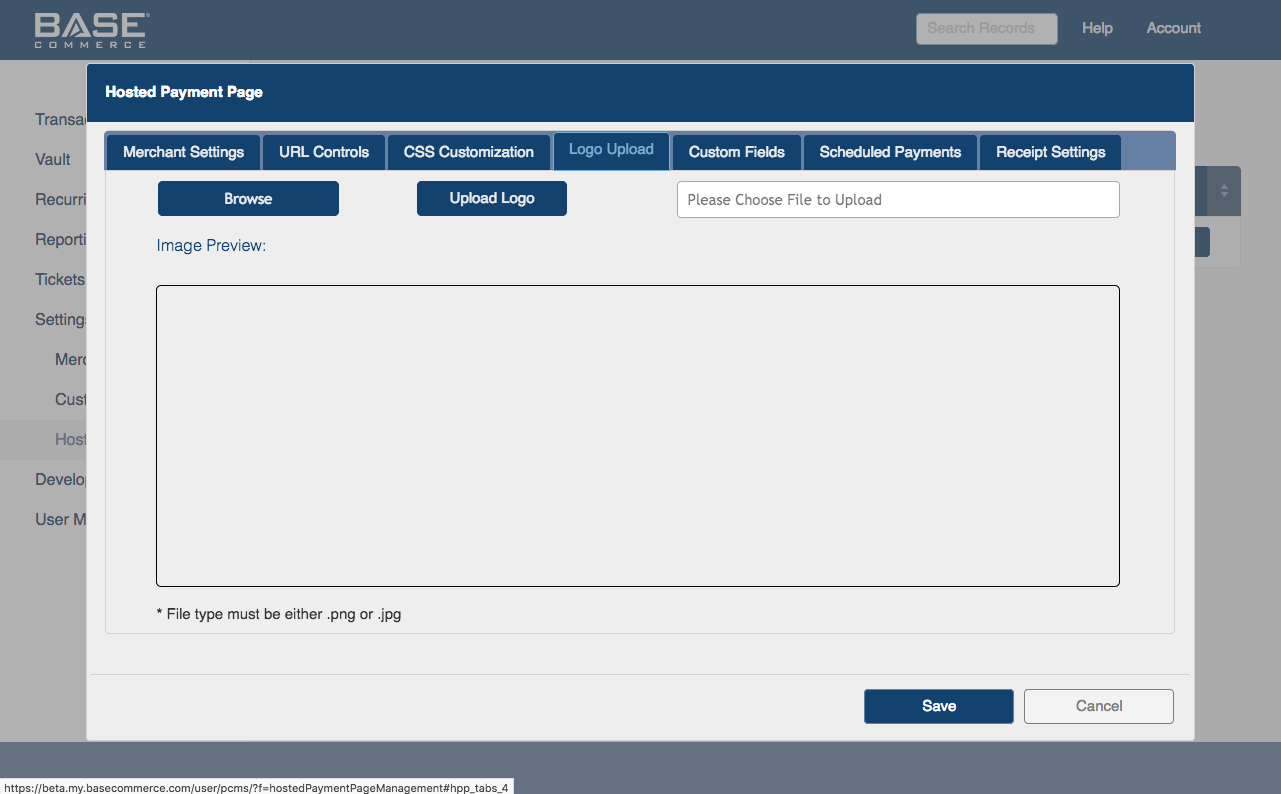
8. You can further customize by adding company logo to the next tab.
The logo will be visible in the top right corner of Hosted Payment Page once it is completed.
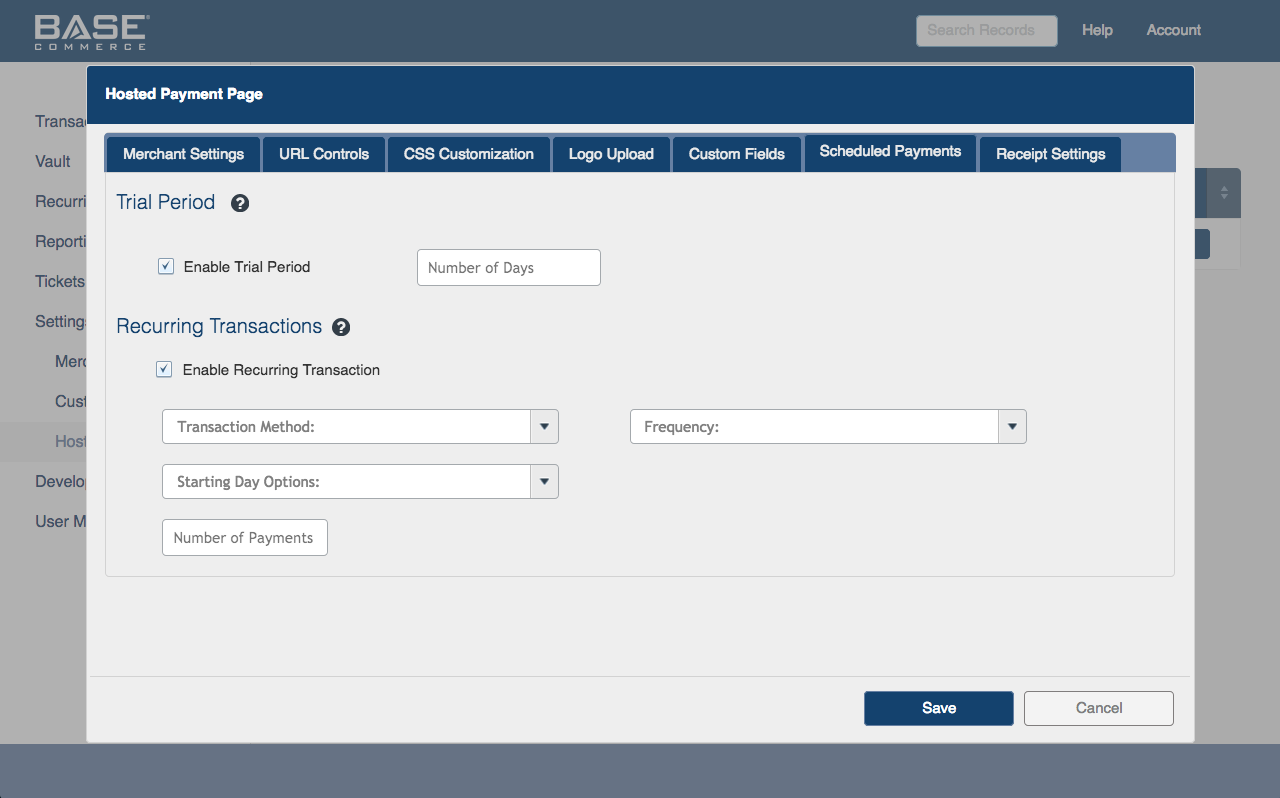
9. The final tab is designed to set up any additional custom fields to be added to final HPP.
Custom fields data is returned back to Merchant after transaction authorization.

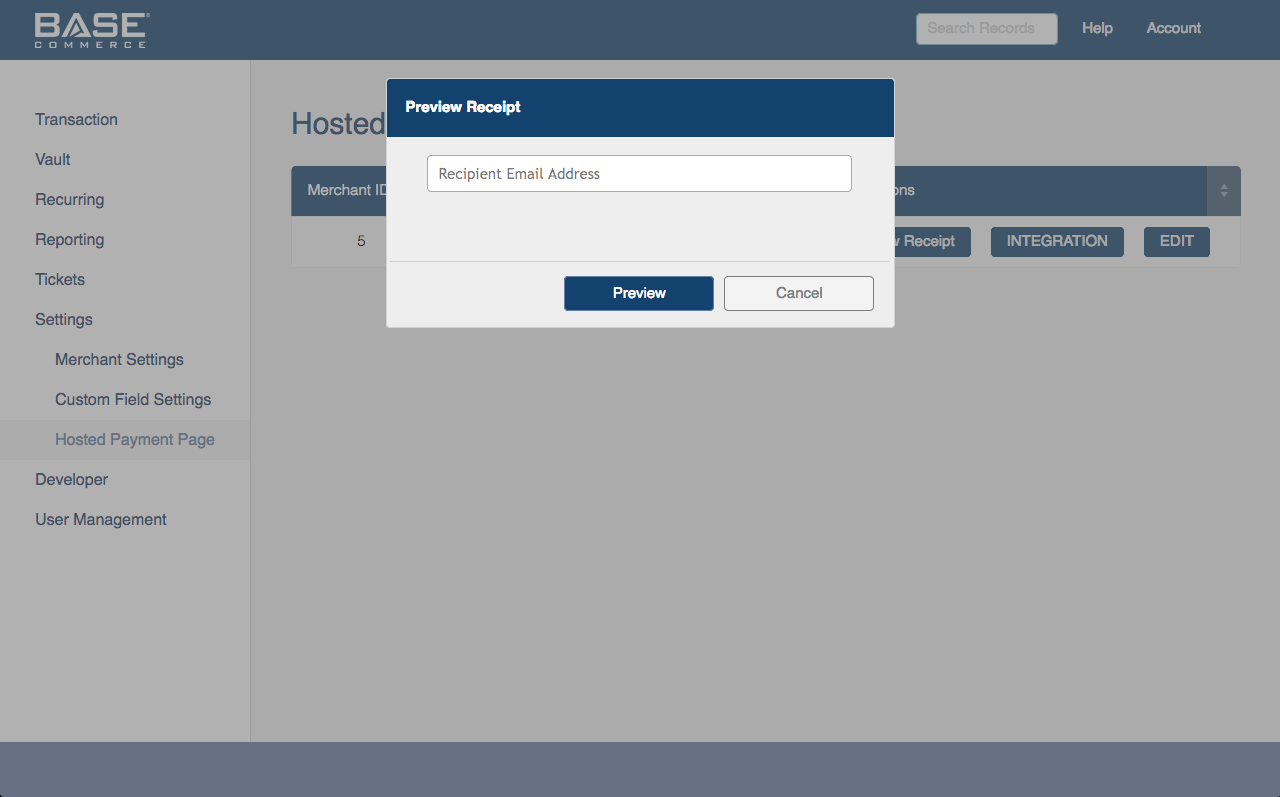
10. Upon saving, you are sent back to Hosted Payment Page dashboard where your newly created Hosted Payment Page will be listed.
You may now click the PREVIEW button which will redirect to preview the newly created Hosted Payment Page.
11. Merchant has the option to EDIT fields to make custom changes to the Hosted Payment Page appearance.
Buy Now Integration Button
1. The next step is to create an "Integration" button for your website.
The purpose of integration button is to add a "Buy Now" button on the Hosted Payments page.
Start by clicking on the Integration button listed on the page.
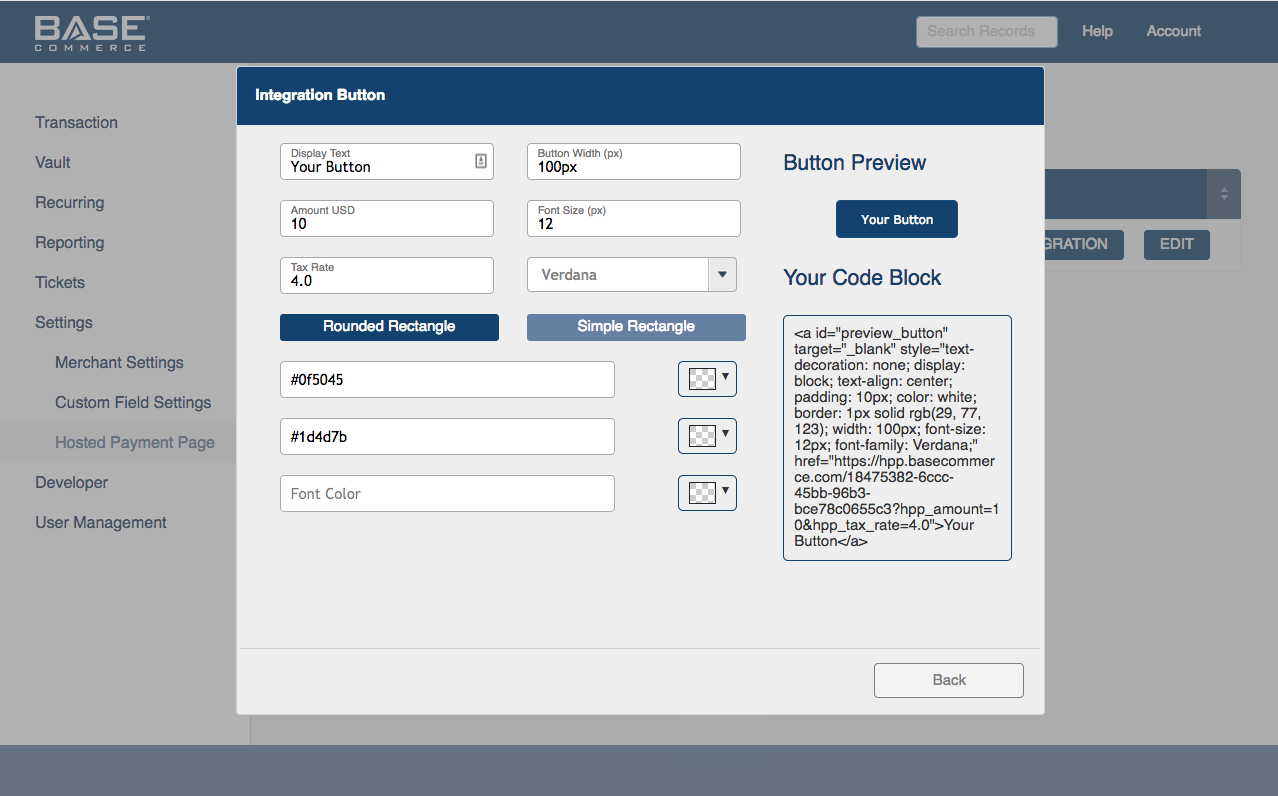
2. Once the integration button is selected, a window will pop up which will allow the customization of the "Buy Now" button.
Once the button is customized, you can select provided code block and paste it within your payments page.
User Guide